Source FilmMaker – Bloody hell I always thought there’s only one M
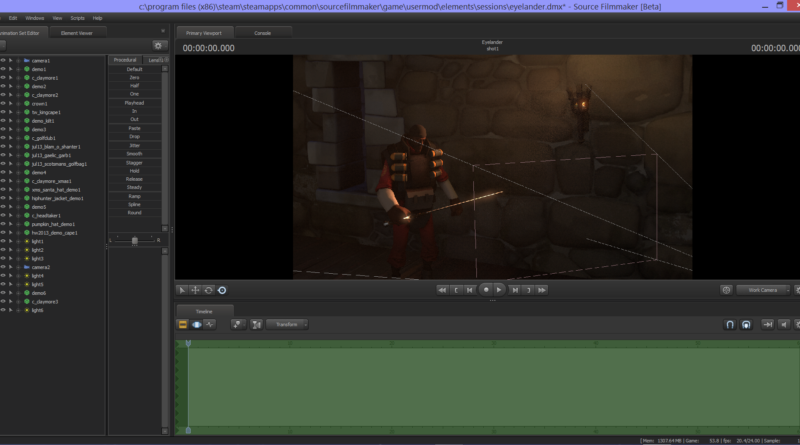
As those who saw my articles knew, I use SFM for most of my article pictures. Today I’ll just go through how I create those images. By the way, I learned my way around SFM using these tutorials, so take a look if you’re interested.
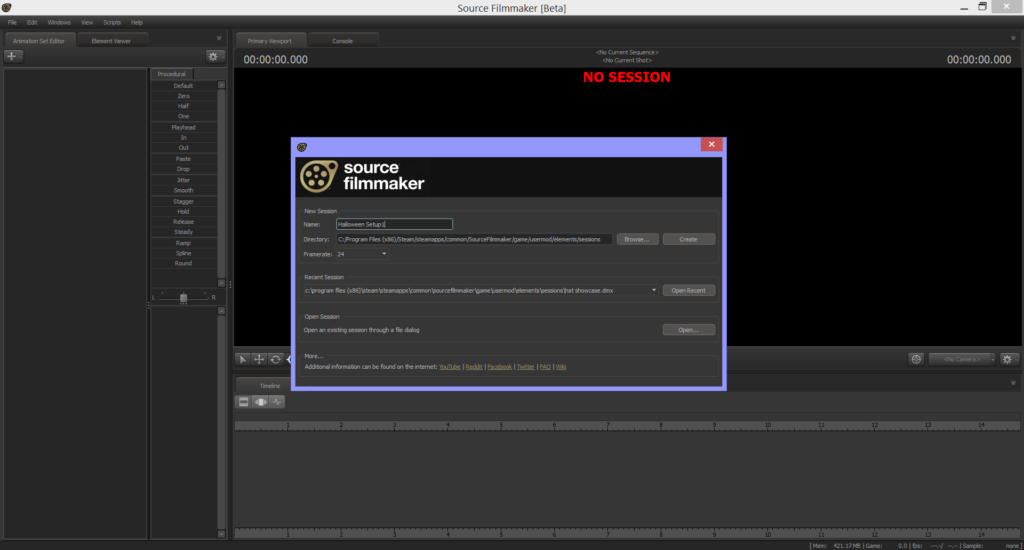
Before I get to the screen you see above, I first plan out my articles so I know what images I need. This also allows me to look for the Steam Workshop files I need before starting, but more on that later. I do create some of the images during writing when I feel that a point could be better brought across with a picture, but that isn’t often the case. In general, I plan out my articles, create the SFM pictures, put them into a folder, then write the article. Sometimes when I know I’ll be short on time I’ll just make pictures for a few articles, then just save them for later use.
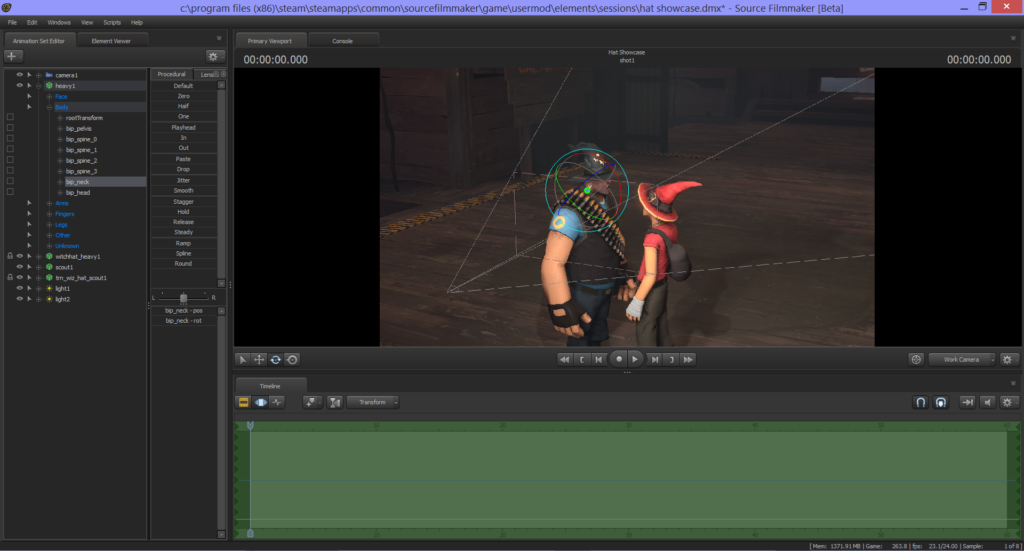
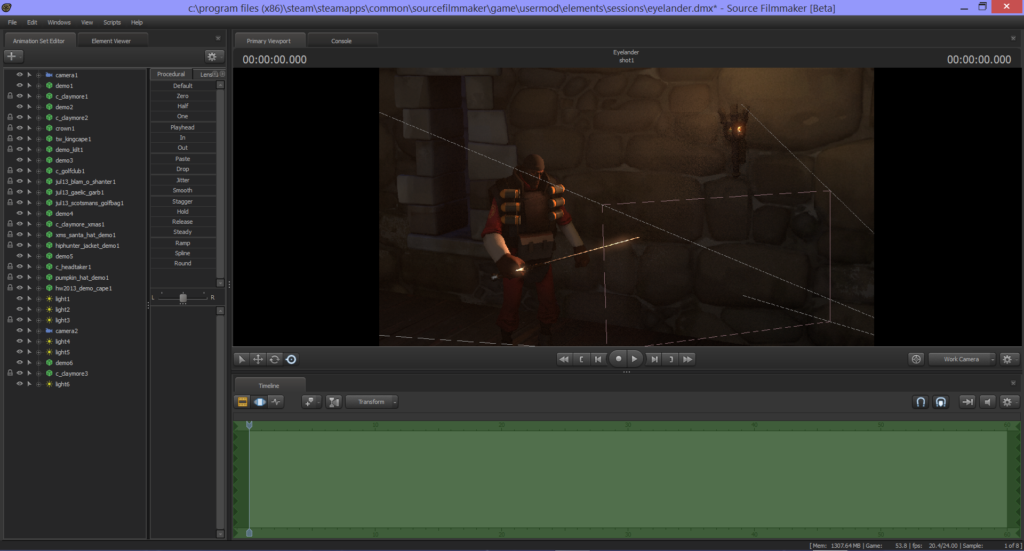
All new sessions start off in a black void. So my first step is to select a map and load it into the session. I then add a camera into the session. After that, I spawn in the models I need for posing.
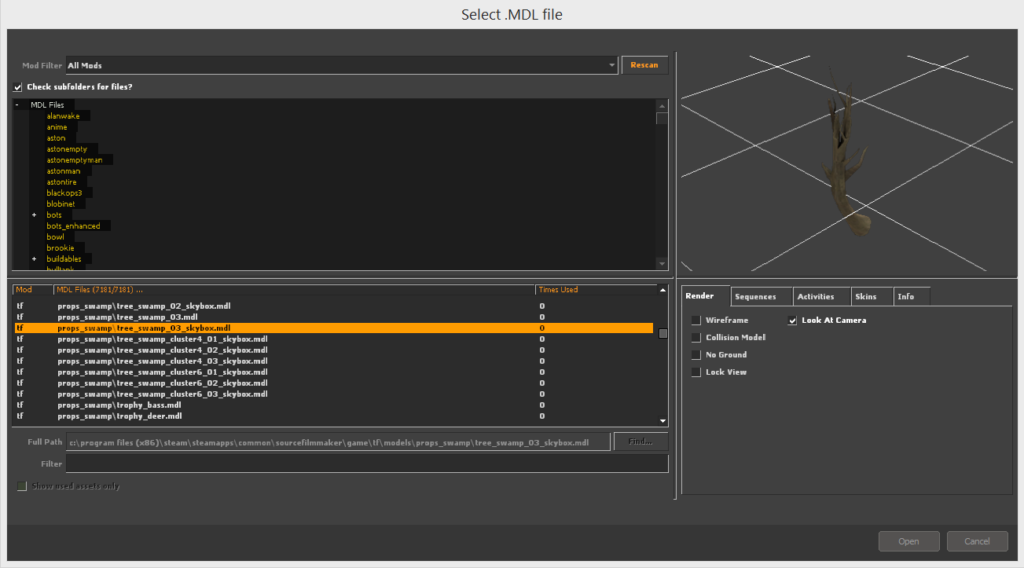
When I first started making SFM posters, I individually spawn each and every model I need. And when I wanted to spawn mercs and add hats on them, I’ll spawn each model individually, then manually lock the bones and move the cosmetics in place (by the way, this guide helped me a lot when I’m looking for a model). It was only months later when I found out I can just add the cosmetic items and weapons directly into the session onto the mercs’ character models with all the bones in place from a menu. Months.
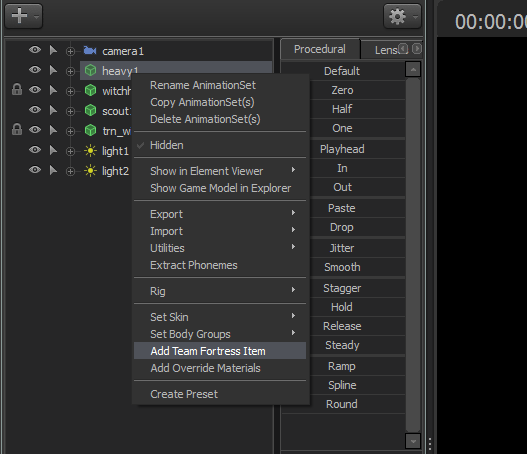
Posing is generally what takes up the most time. Thankfully, most of the default models came with the default animations and poses in the game. I normally import these in for background characters or when I just need a simple pose to demonstrate something instead of manually posing the models.
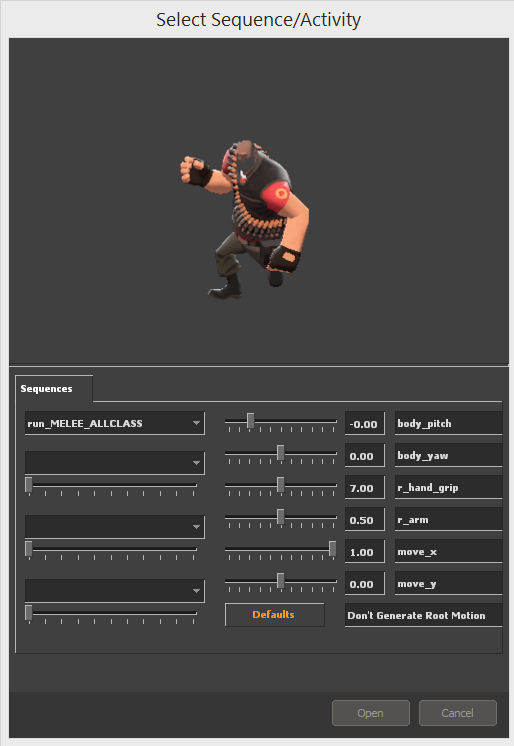
Posing for fingers is the most annoying thing I ever have to do, so I normally just import those poses in even when I manually pose the rest of the model. I also do the same for Medic’s labcoat as well when I can get away with it. It’s nice that SFM allows you to import an animation sequence for only selected bones instead of the whole model.
During the model adding + posing stage, I’ll spawn in particles when needed. Normally, the last things I add in are the light sources. Once I get all the posing done, I’ll adjust the lights and the light level of the poster the camera takes in. The addition of motion blur really depends on whether it works out well for the poster, and it’s normally at this stage when I decide whether to use it or not.
I generally do not do any post-processing after that. However, if I feel like I want to do some edits, I use paint.net for that, since I’m too cheap to use Photoshop. Also, the last time I tried downloading Adobe Creative Suite it slowed down my computer to a crawl like it’s under fire from a Natascha Heavy, so no thanks.
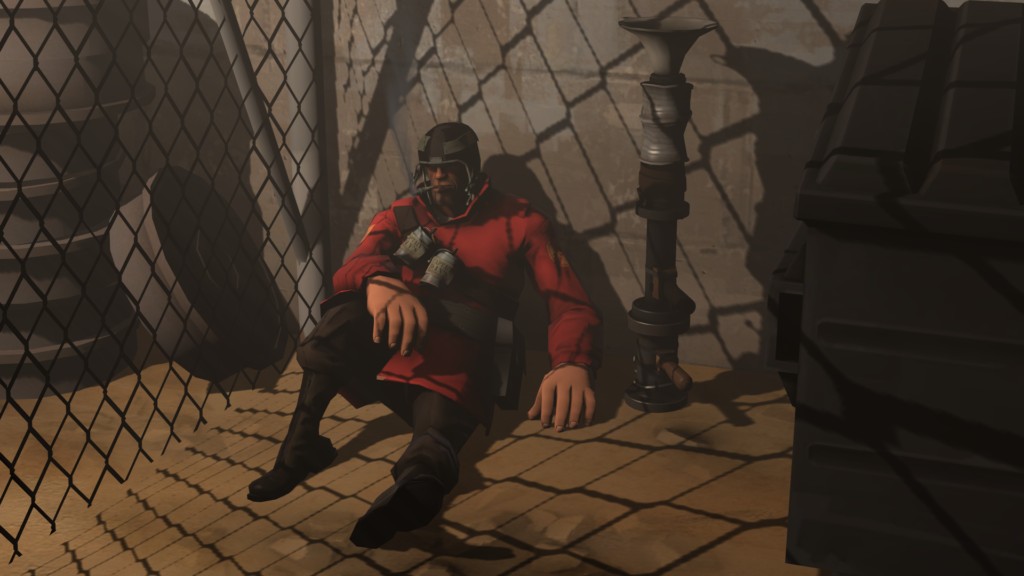
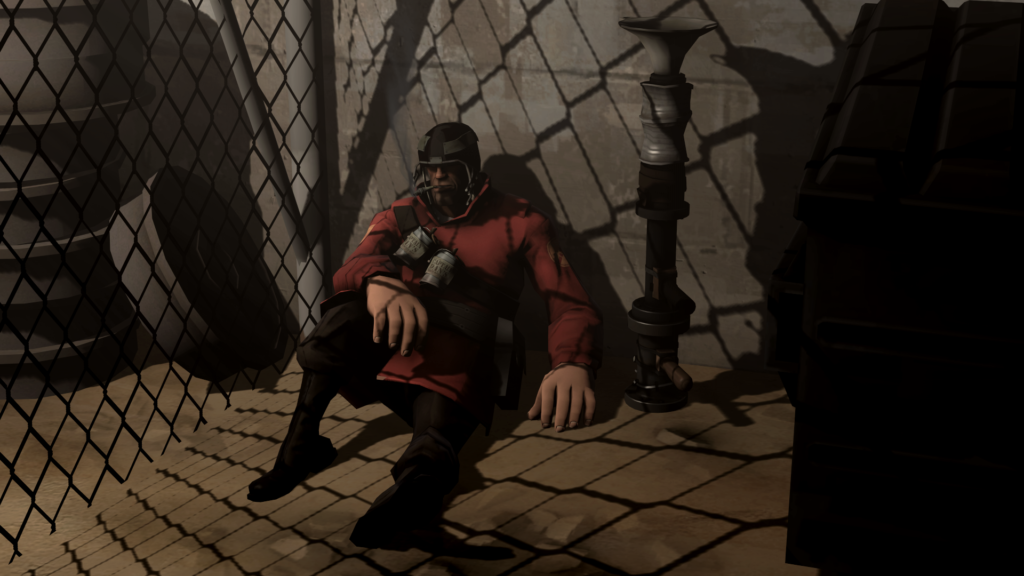
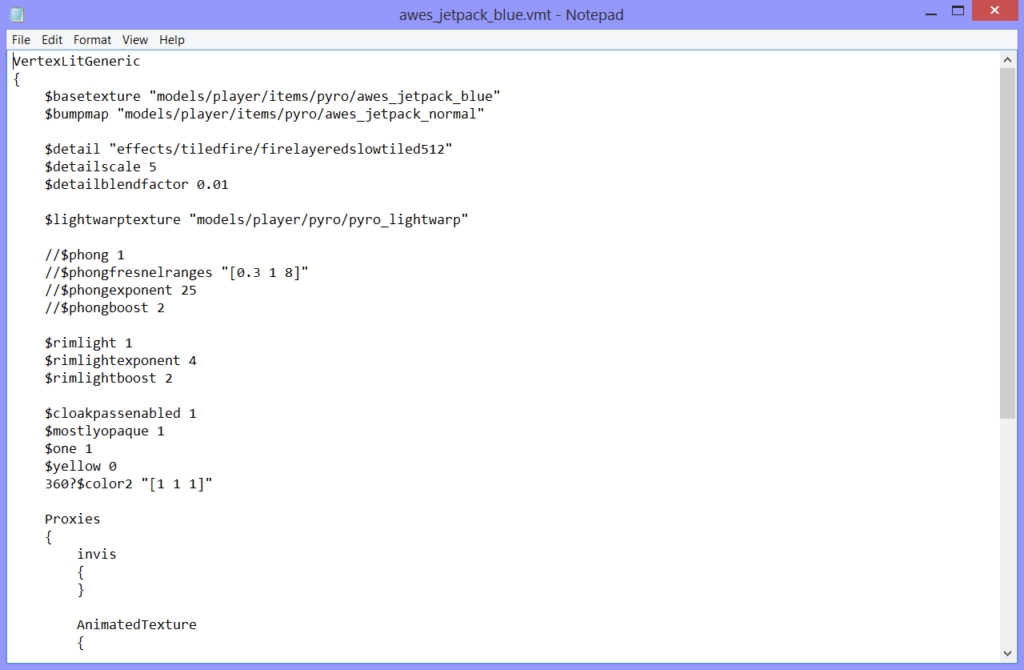
Valve stopped updating SFM around 2014, and the engine SFM is running on is probably the same one TF2 is running on at about 2011 for all I know, so Killstreak weapon sheens do not work properly without workarounds as far as I know. In fact, some of the models do not work properly unless I jump into the model’s .VMT files and comment out the code that only works for the newer Source Engine that TF2 is currently running on. Most of the times, models with translucent parts will spawn with the whole model appearing translucent, even the parts that are supposed to be opaque. Sometimes, team-coloured parts of the model will appear white. The Robotic Boogaloo models have all their paintable parts appear black. For that one I just gave up and downloaded a fix from the Workshop. Otherwise, most texture errors are relatively easily fixed.
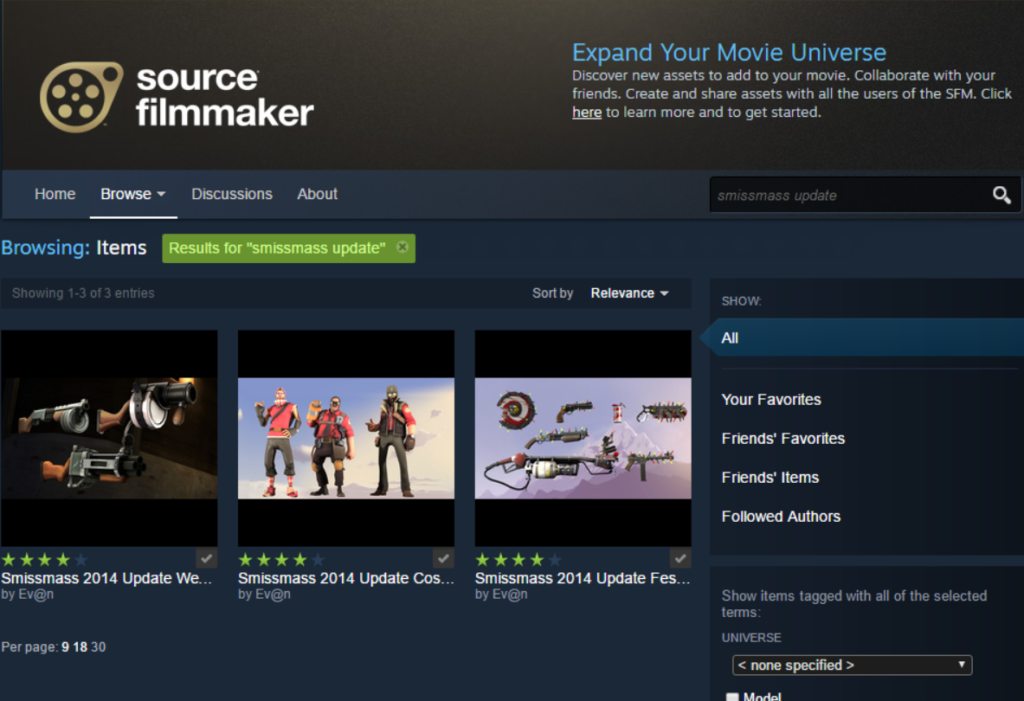
Since Valve stopped updating SFM and I never learned how to rip the files out from the TF2 game files, I need to get the models for the new cosmetics somewhere. Thankfully, the SFM Steam Workshop normally have people uploading files for the new cosmetics. Thanks guys.
The Workshop is also a fantastic place for custom models, which I’ve used for some of my articles. For example, I used the TF2 Australian Mini Prop Pack for my Trophy Belt article. It’s a great place to get new models that fit into the TF2 Universe and more. You can get Overwatch models, Paladins models, and even Ocarina of Time models for some reason.
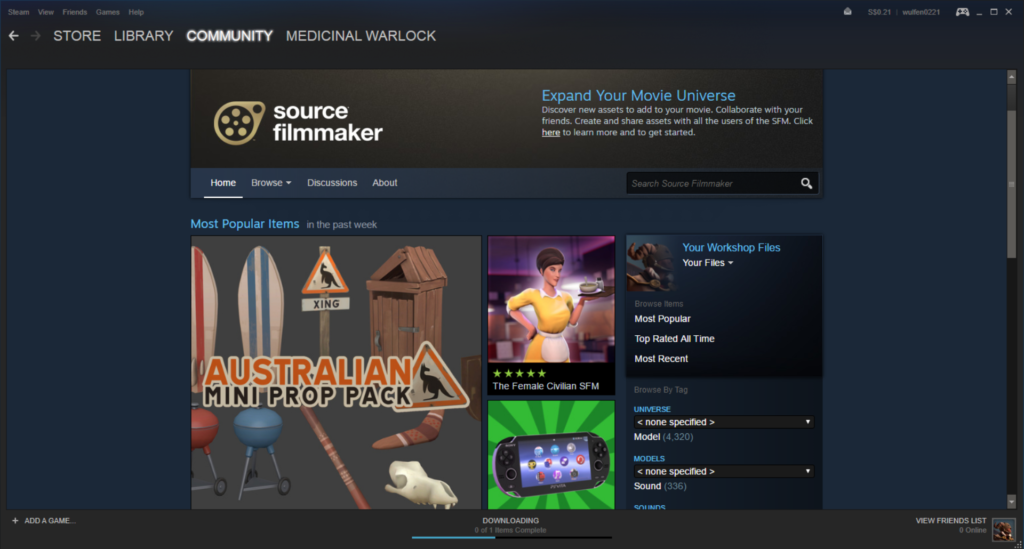
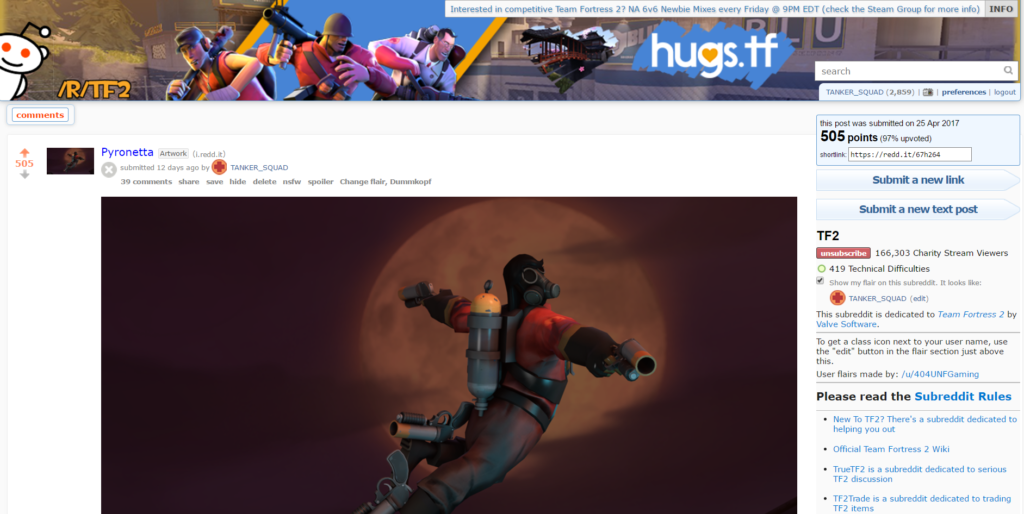
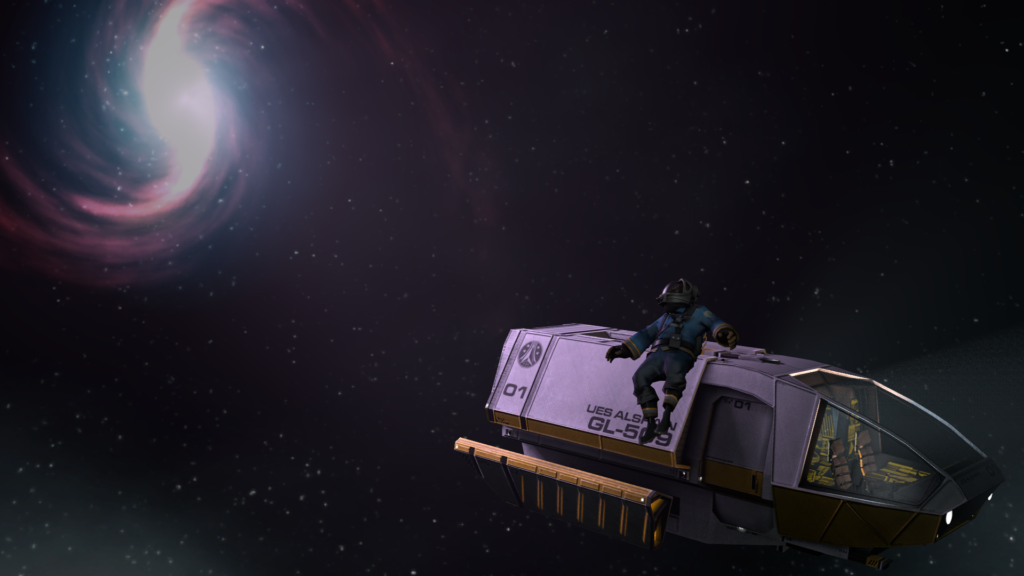
The SFM workshop is wonderful for resources other than custom models of course. Like for the Russian Rocketeer model, I decided to put Pyro into space. However, I do not want to use rd_asteroid, so I use this map for most of the pictures. The Workshop and its contributors are a great aid for poster makers and video makers. Thanks to them, the SFM community had a lot more at their disposal to create what they want.
And when the article goes up, if some of the pictures turn up great I’ll upload it onto Reddit. All in the name of Lady Karma, the charming seductress gently calling me to her. Because I’m shallower than a half-dried puddle.
