Cardboard Weaponry – The Medi Gun
I’ve made a lot of cardboard weapons over the years, most of which are replicas of TF2 weapons. This year though, only two new weapons have joined my arsenal. The problem is that I’m running out of space for all these weapons, and since I’m planning on moving out at some point, I can’t exactly take them all with me when I do. I’m considering selling them, but really, how much are people willing to pay for replica weapons made out of masking tape, glue, toilet roll tubes and cereal boxes? Plus they’re fragile and will probably arrive smashed to pieces, or at least somewhat squashed. I need to have a clear out. If anyone wants to buy a ton of Warhammer/40K pieces off me, just ask.

Anyway, my first weapons were a Bonk! Atomic Punch, which is super easy to do with a printer, some glue and a can of Shark/Red Bull/whatever energy drink you fancy. Personally I prefer the sugar-free Hell energy drinks I get locally. The Bonesaw was simple enough as well, as I had a big cardboard box and cut out the whole thing in layers before gluing it all together. Later weapons would involve more cardboard tubes and masking tape, which works really well because you can paint over it. But I always wanted to make a Medi Gun.
Thing is, a Medi Gun is actually a lot harder to make than it looks. It’s got a lot of round shapes to it, shapes that aren’t easily made from squares and rectangles, or the cardboard junk I generally have available. The Medi Gun also is a large weapon with a moving part – the handle. If I was going to ever make a Medi Gun, I would HAVE to have a moving handle, it’s not really a Medi Gun otherwise. The awkward shape and size makes such a thing awkward to make.

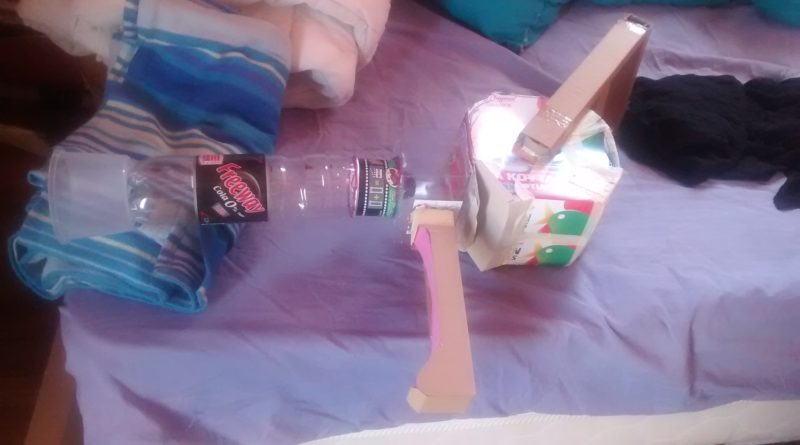
So I have finally made the Medi Gun. It hasn’t taken me that long to make, but a lot of time was spent waiting for things to dry. Paint in particular but glue too. The base of the Medi Gun was made with a mixture of cardboard and plastic – the majority of the shaft is plastic while the handle and handle-y. But those materials on their own, held together with hot glue and masking tape, wasn’t quite strong enough on its own, so I went all Art Attack on it. By that I mean I grabbed a load of PVA glue and toilet paper, dipped the toilet paper in a 50-50 mixture of PVA glue and water then layered it over parts of the Medi Gun that needed strengthening.
Once that had all dried, and it takes a long time to dry, I went with a black base coat. Just some cheap black spray paint, because I’m cheap. That also took a while to dry, but it was needed since the plastic parts don’t take well to my normal paints.

As for the paints I use? That’s where the PVA glue comes back. I used to use small tubes of acrylic paint, or staining paint (what the Greek text translates to – I’m not sure what it’s really called) that I used to get at a local hardware store, but now I use tempura paint mixed with PVA glue, or a mixture of paints. For the Medi Gun, it’s a mixture of black staining paint, tempura paint and acrylic paint, made into the single dark grey colour of the Medi Gun. There’s only actually three colours on the Medi Gun anyway – blue/red, a dark grey and a darker grey. That’s it.
But I decided to do something a big different this time. I went to my local sells-loads-of-cheap-shit-from-China store and bought some little LED tea lights, and wired them up to my Medi Gun with some wire and a home-made paper switch. So now it lights up.
Yay.

