Tips for Beating Left 4 Dead 2 and Payday the Heist on the Hardest Difficulty
This article is a combination of two similar posts I made in the Left 4 Dead 2 and Payday subreddits. Both threads were basically the author asking for advice on beating every map in the game and rating them easy to hard. To add some color I also included random screenshots from my Steam folders.
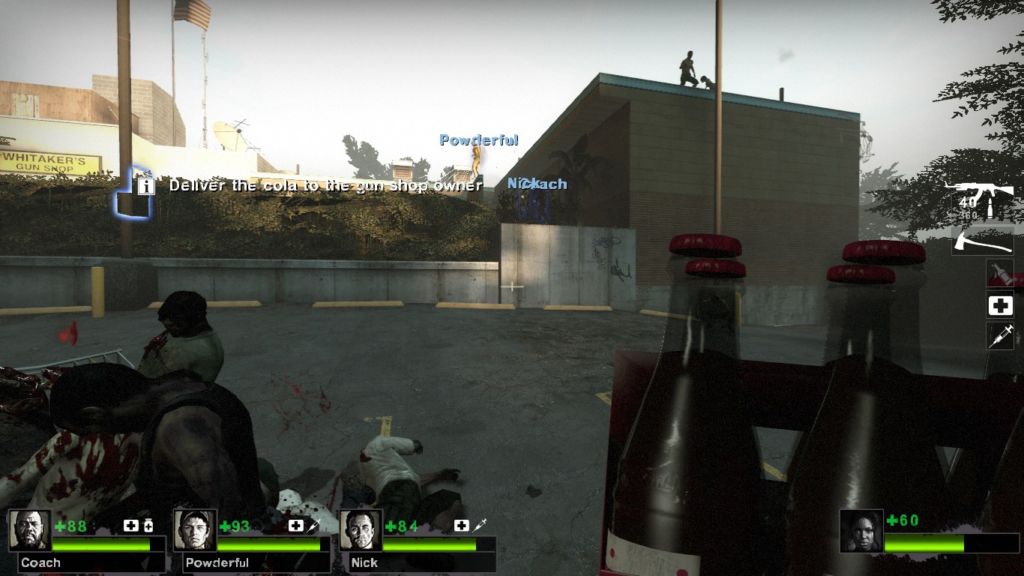 Dead Center: Pretty easy. The maps are very controllable and bright and lots of corridors to control the oncoming infected. Solo is a nightmare because bots don’t grab cans for the finale.
The Passing : Harder than Dead Center, mostly because each map is really long. Don’t startle the bride witch. Use the L4D team for cover during finale hordes and go grab gas cans during tanks. Oftentimes you can find a gas can at the end of the sewer of Map 2, bring it into the finale and start with a free can.
Dark Carnival: Some of the crescendos are pretty brutal and the darkness hides infected really well. Bile only spawns on the first map so make sure someone holds onto it for the rush at the end of the 4th map.
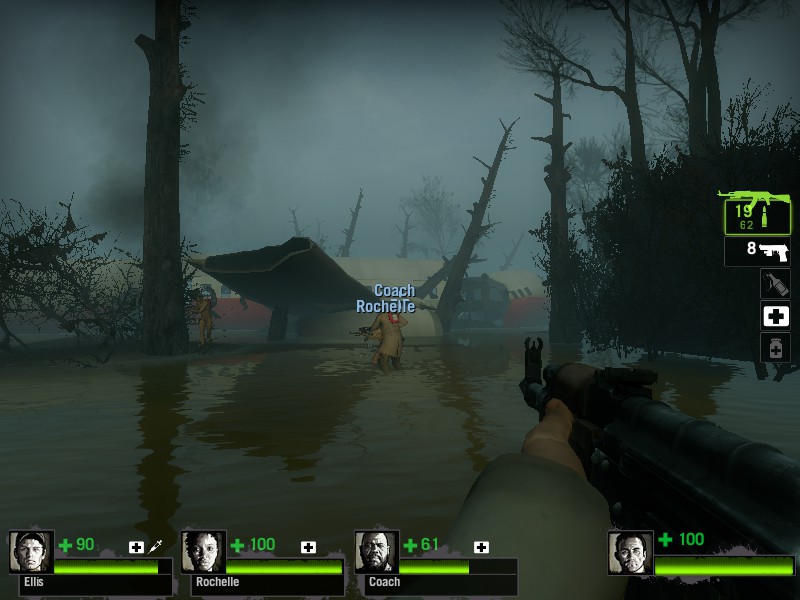
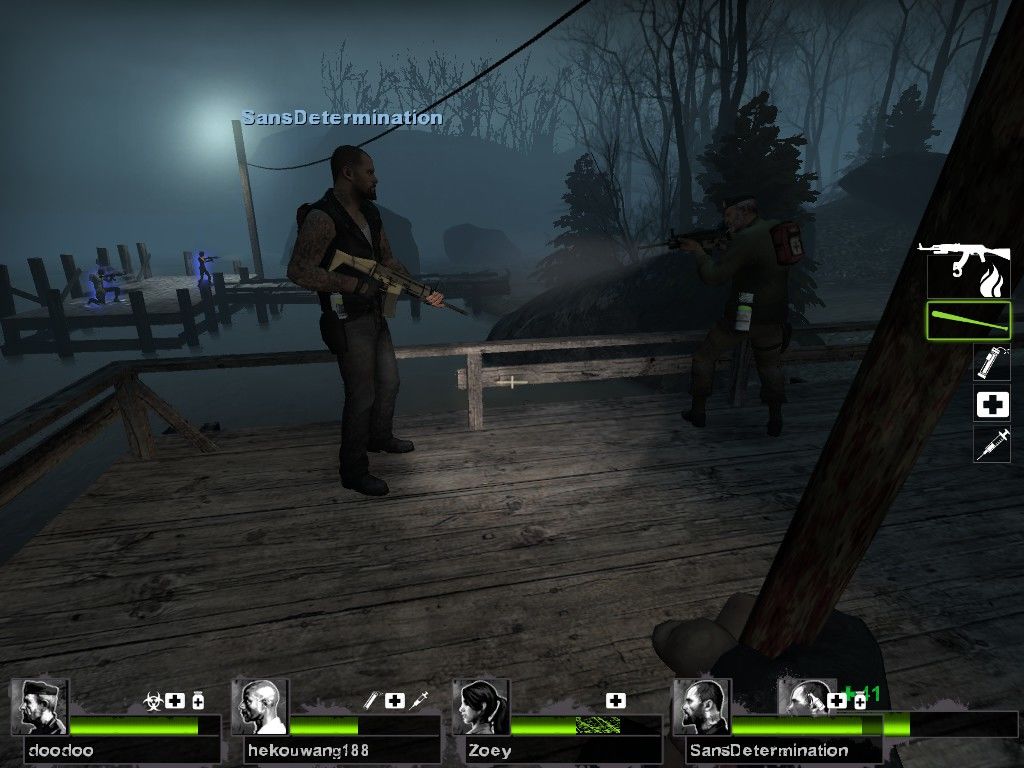
Swamp Fever: Avoid water as much as possible. Don’t be afraid to backtrack to dry land to avoid getting mobbed by hordes in the swamp. First time I beat it on Expert my team hid in the saferoom during the airplane sequence lol
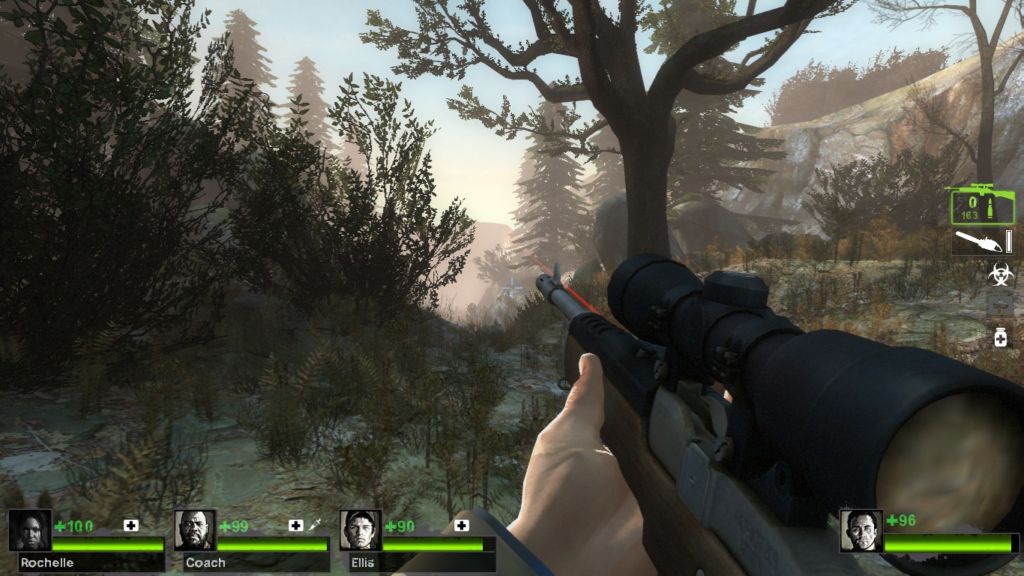
Hard Rain: Learn the route that lets you beat the 4th map (and the 3rd map sugar mill) without ever touching the water. First two maps are easy so go exploring and learn where all the pickups are in the nearby houses, then you can use them on the way back.
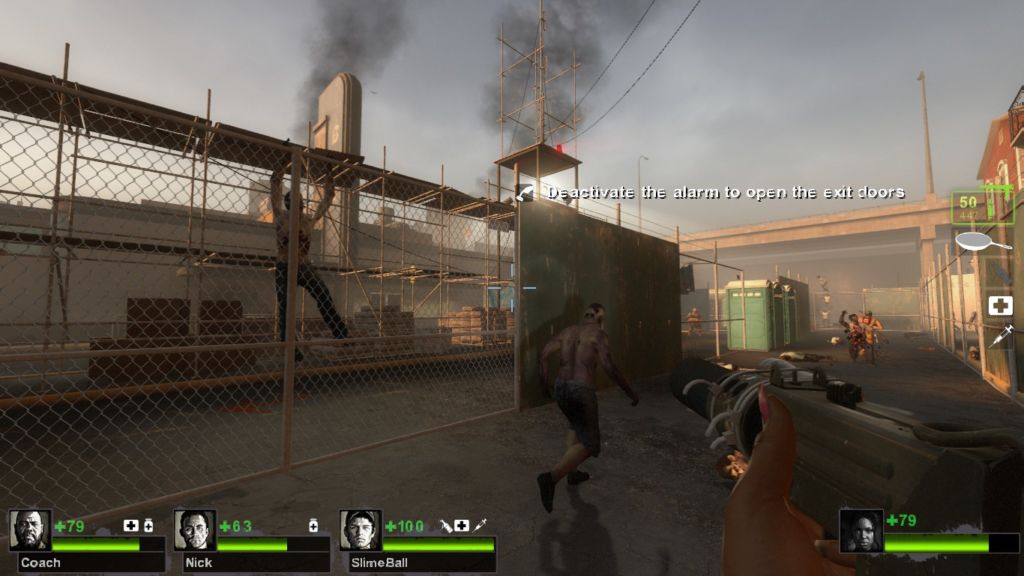
Parish: Honestly, I find Parish really easy because you can rush it from start to finish. Give everyone a shotgun and melee weapon and just speedrun from Vergil’s boat to Papa Gator’s copter.
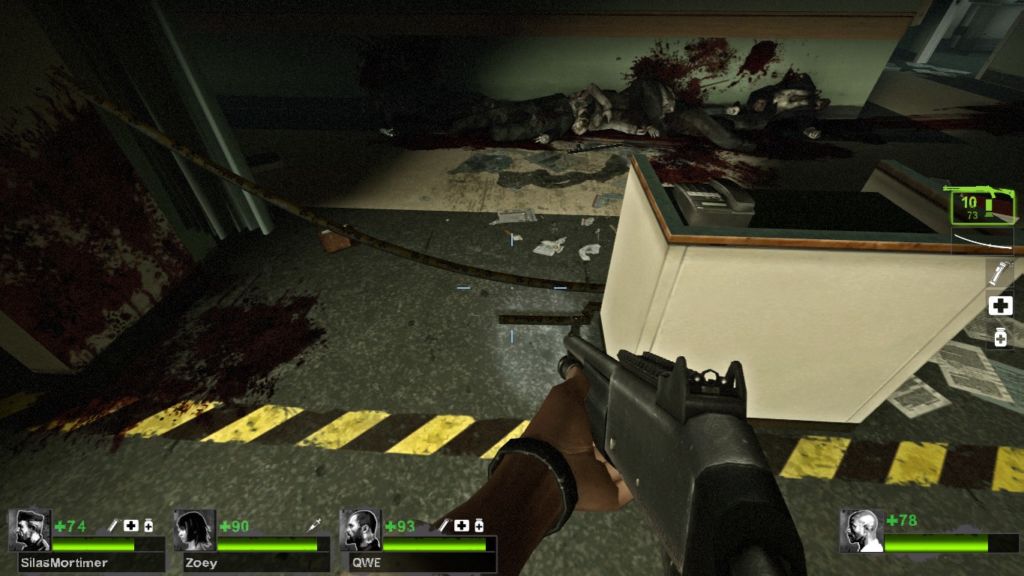
No Mercy: I’d say the easiest campaign in the game. No real surprises and everyone knows it front and back. Finale has literally two dozen pipe bombs and molotovs and the best-placed turret in the game. After spawning into the first map open the fridge on the top floor, it almost always has pills.

Crash Course: Despite how short it is, honestly pretty hard because the maps are long and the finale has no real good holdout spots. I recommend the truck if your team rocks at aiming, or the outside roof with the airvents if they’re less good at aiming. The indoor roof near the turret is always a death zone when my team tries to use it. If you use pills to bypass the crescendo at the end of map 1 you’re a terrible person and need to turn in your zombie-fighting badge.
Death Toll: Another easy map, very predictable and lots of choke points to wall off zombies. Save your grenades on map 4 for the end rush and make sure you’ve got a bile. Remember you can take the finale at the safehouse, unlike every other campaign in the game, and it honestly becomes way easier.

Dead Air: Also pretty easy, just be patient and ride out hordes in good three-dimensional hiding spots. Lots of gas cans and isolated rooms with only one entrance to abuse. Save at least two grenades for the final run of Map 4, preferably biles.
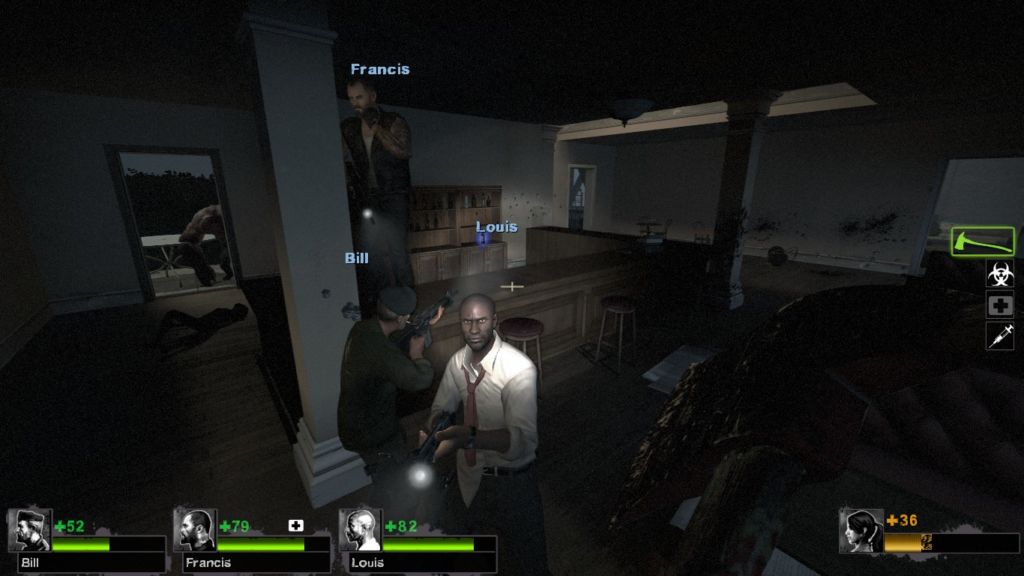
Blood Harvest: Definitely the hardest map from the first game. Visibility sucks so make sure your team is communicating. Treat buildings like safehouses and hide in them when you need protection from a horde. The roof of the farmhouse is the best holdout spot for the finale, a decent team can make that without effort.
The Sacrifice: Like every map from the first game, gets shit on by bilejars, especially since Hazmat infected will keep giving you new ones. Two gas cans will ALWAYS spawn on map 1 before the train tank, bring them with you and combo with biles to make the tank an easy kill. Use more bile to scale the gravel pile in map 2 easily, and activate the generators at the same time for an overall easy campaign.
Cold Stream: The only map where you know what weapons will spawn half the time. Save the chainsaw for the run to the Map 2 safehouse, and everybody grab Ak47s at the beginning of map 3 so you can give them laser sights on Memorial Bridge. I always rush this map, just like Parish.
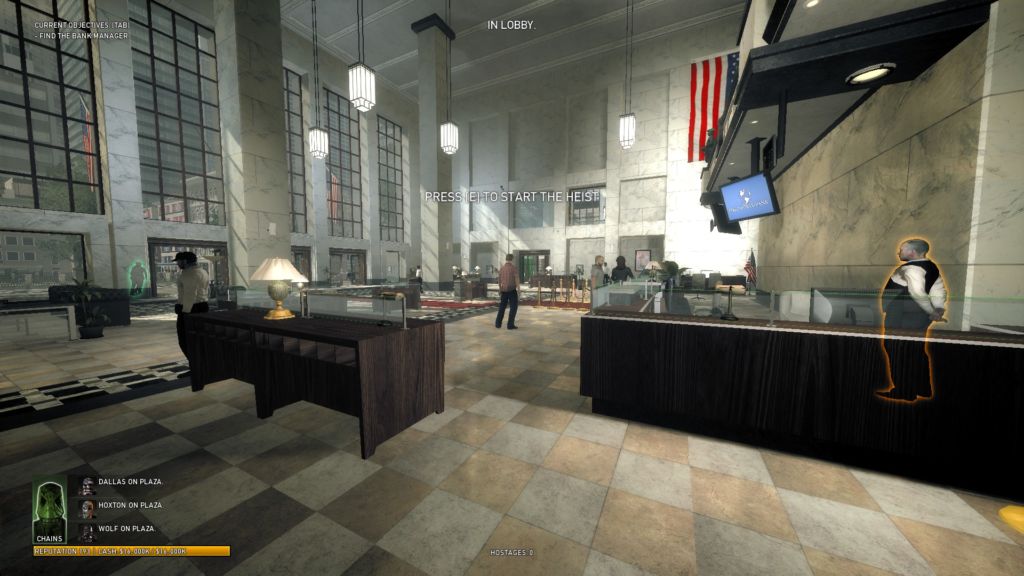
First World Bank: Pretty easy. The second floor is the best place to holdout, my team usually sends a single person to go trigger the objectives in the vault room. Remember that cops will spawn around and focus on a team of three and all but ignore the loner. Trip mines are useful to prevent the Windowlicker cop and solo the Bulldozers in the vault.
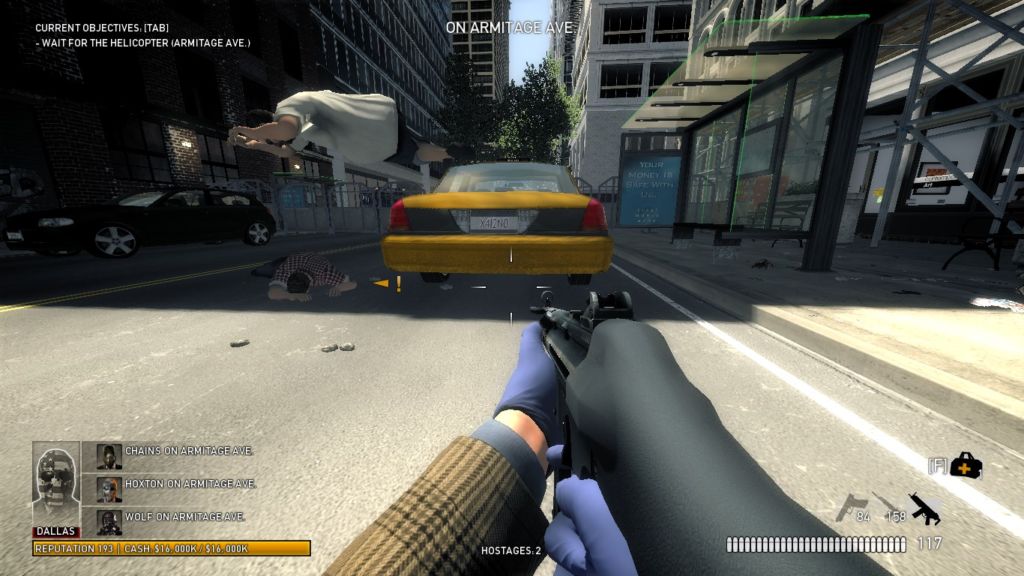
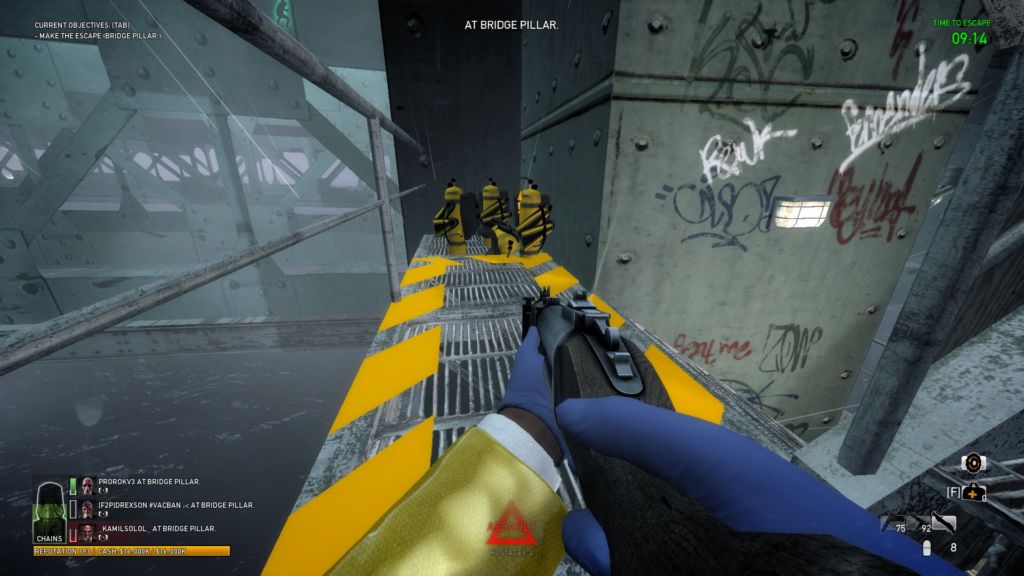
Heat Street: Very difficult! Best way to begin is to sprint out of spawn in unison and literally not stop running till you reach Matt. Usually one or two teammates won’t survive the run, trade civilians to get them back before the first assault wave. Have everyone stand on a gascan spawnpoint before the objective pops up and you might be rewarded with 4 immediate and easy cans.
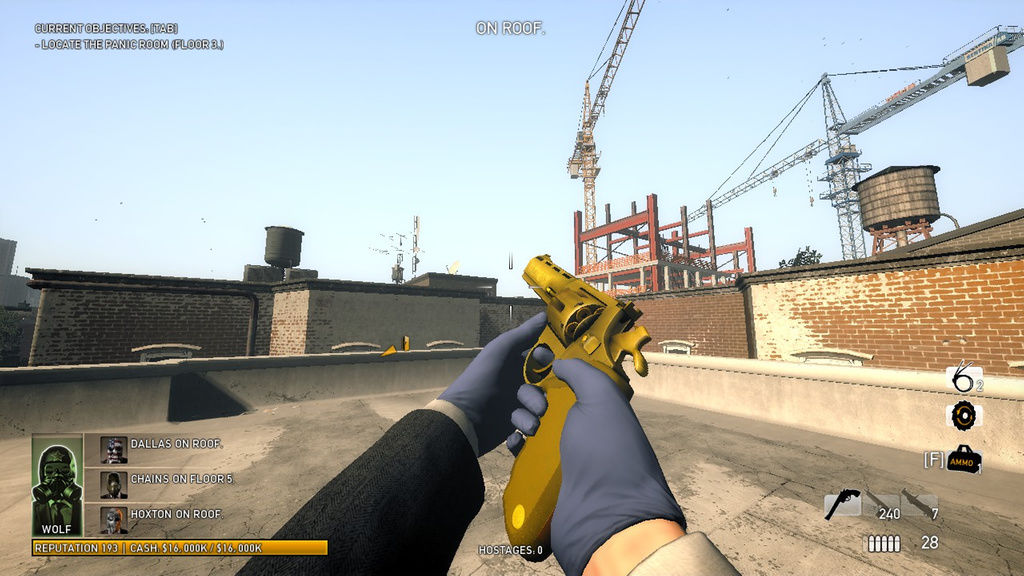
Panic Room: Kinda hard due to lots of close-quarters combat. Remember the cops won’t ever rescue Chavez, so keep him alive. Stay off the roof except between assaults and remember you can use windowsills to Spider-Man your way around the map. This mission takes forever but it doesn’t pack any real surprises so you can beat it if you’re patient and don’t take unnecessary risks.
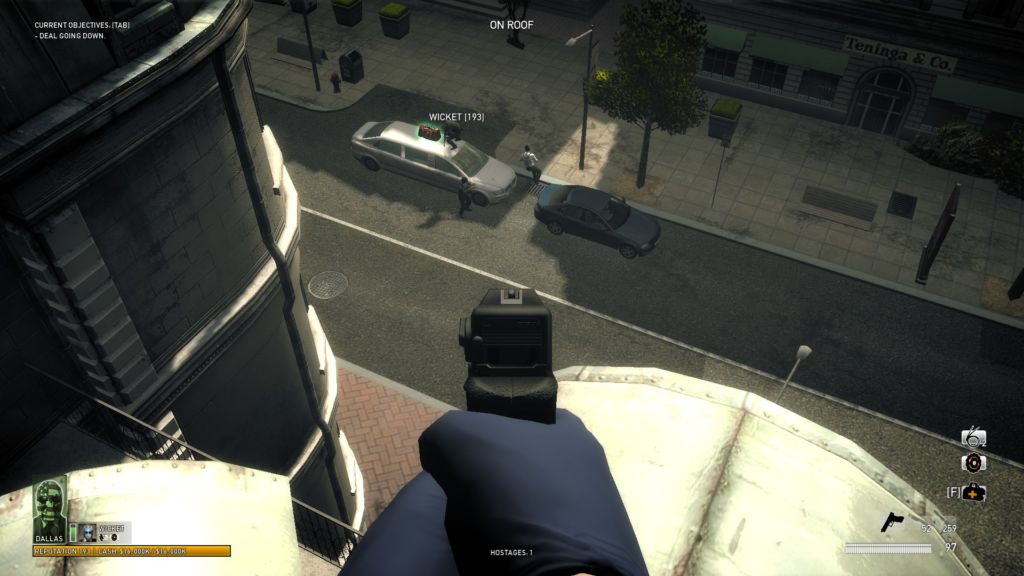
Diamond Heist: Not that hard. This is the easiest heist to use circling to bait police spawns; constantly be moving around the map so that the cops are spawning into where you used to be and not in front of you. The rooms where the CFO/Ralph spawns are very defensible. Shoot a grenade launcher at two specific spots on the floor to break the glass cases before the vault even opens.
Green Bridge: Almost as hard as Heat Street. The furthest prison van is a great spot to hideout during assaults, and if you’re lucky the prisoner will be inside it. This mission is easiest if you wait out assaults and only push objectives during lulls. Remember that if the furthest prison van slides, it 100% doesn’t have the prisoner.
Slaughterhouse: One of the hardest heists in the game. Make heavy use of the “three-man holdout while loner pops objectives” strategy. Remember that the second floor kitchen is a great holdout zone and that you can circle back into the slaughterhouse to bait police spawns and avoid snipers.
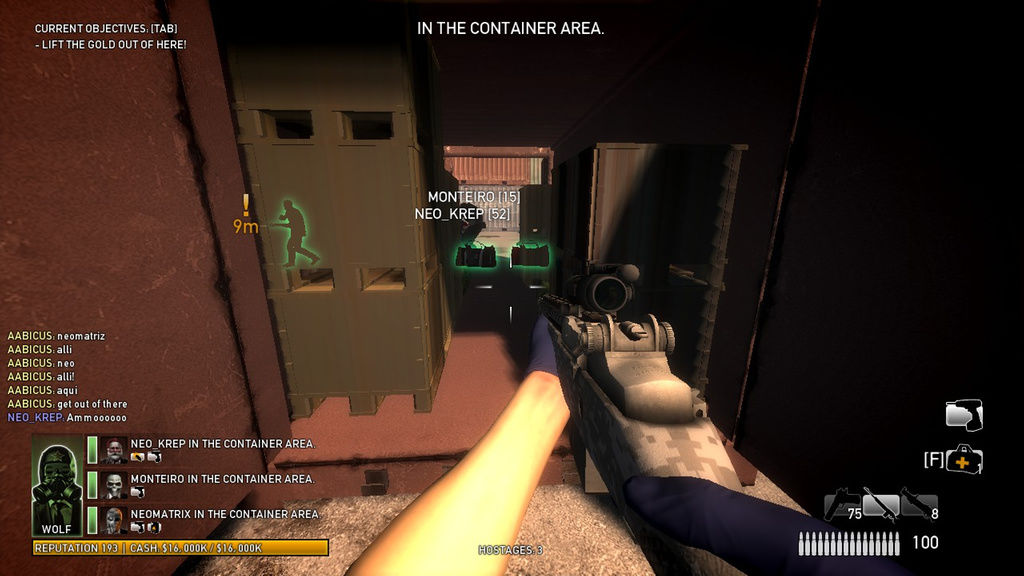
Counterfeit: Pretty manageable honestly. Don’t kill the bulldozer who turns off the power; if he lives, the game won’t spawn more and you can ignore that objective going forward. Put a doctor/ammo bag on the basement stairwell to provide additional cover. Also kill the Shields guarding the escape before grabbing the final gemstone.
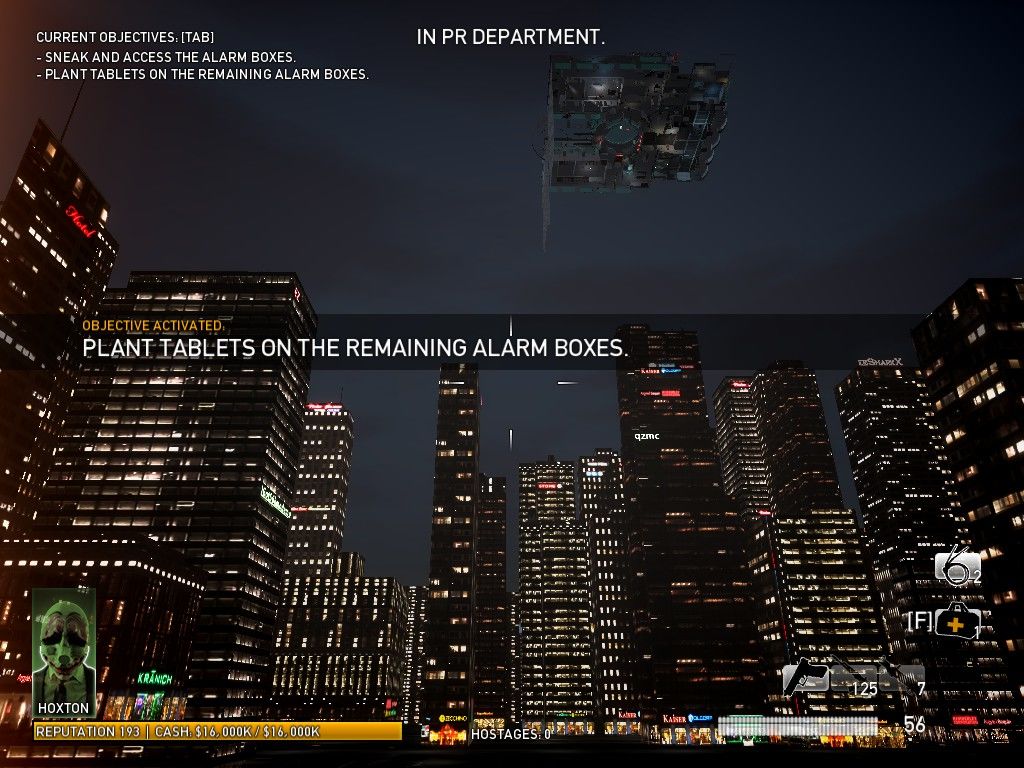
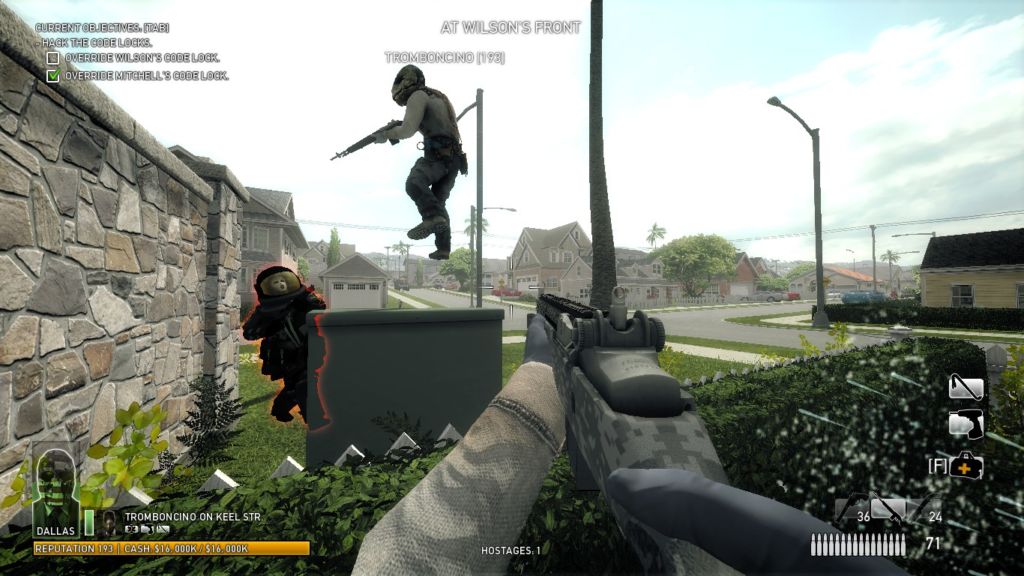
Undercover: This heist suuuuuuuuucks. Board up the server room and the two routes to the rooftop power boxes. Shoot the gangsters as soon as Taxman has the server on him. Circle strategy or holdout strategy are possible but risky; my team’s preferred holdout room is the bathroom on the second floor.

No Mercy: Difficult due to lots of RNG. Assign each player a button and have them guard it with their lives while player 4 goes and does all the objectives. During assault waves, the best place to camp is the offices near the stairwell while a fourth player stays near the quarantine zone and completes objectives. Leave the second purified vial in the tester until its time to escape, to eliminate any chances to holder gets downed and the vial breaks.