On The Direct Hit
The Direct Hit can either be the most devastating single-shot rocket launcher unlock or the worst rocket launcher to ever disgrace the battlefield if you can’t place your shots right and want to rely on splash damage. As a Soldier-main who’s retired his first strange Direct Hit for the easier stock rocket launcher after reaching a few hundred kills past Epic Rank, I too can agree that it’s a troublesome weapon to many who don’t know the nature behind using the Direct Hit. But mastering this pesky launcher can pull off some both quantitative and hilarious outcomes.
One first needs to understand the exact uses of the Direct Hit’s stats.
+25% damage bonus
+80% projectile speed
Mini-crits targets launched airborne by explosions
-70% explosion radius
The damage bonus is very beneficial. At maximum ramp up you can deal 140 damage which can kill healthy Scouts, Engineers, Snipers and Spies all in one single Direct Hit (no pun intended). Although you may need a second shot to wipe out healthy Medics, Demos, Soldiers and Pyros, usually they had already taken damage and a one-shot will subdue them. If you’re a real good hotshot, you can kill a Heavy in two shots. Unfortunately, the only way to make that great use of the total damage behind the Direct Hit is getting up close, up in their faces. That doesn’t mean you can’t deal nice damage mid-range: the real deal of the Direct Hit is the unique damage bonus that can knock off nearly half of the imposing players health on one GOOD mid-range hit compared to the stock rocket launcher. It’s also worth to mention that the Direct Hit’s crocket can kill any fully-over-healed class (except a 450 over-healed Heavy) in one hit. Aside from enemies who wear skin and clothing, buildings can be taken down easily. Since each rocket takes out half of the buildings health regardless of distance, along with only requiring one rocket to destroy mini-sentries, you can make a quick scrapheap of Engineer buildings.

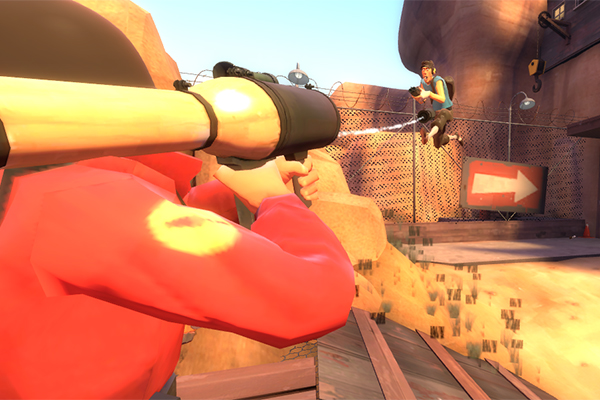
What better than a fast rocket? The fastest rocket. At a rate of 1980 Hammer units per second, roughly 84 mph, that’s pretty hard to predict exactly when it’s coming right at you. It’s aggravating for Pyros. Most Pyro-mains can agree that while the Liberty Launcher’s rocket is fast, the Direct Hit’s too fast. The Direct Hit’s outrageous force behind the projectile speed is the reason behind enemy players finding themselves flying up in the sky. Which is exactly why the Direct Hit obtains its airborne mini-crit bonus. Earlier I said the Direct Hit pulls off some hilarious outcomes. Well, when you’re launching a dead player into the sky as if they were a rocket and they face plant on the nearest roof or ledge with a mighty thump, you can’t help but smirk or giggle. Especially the one time when that Spy you hit starts slowly spinning dead in the air and flops right back at their spawn on Harvest.
Now we’re onto the big issue with the Direct Hit, the one where players will favor splash damage rocket launchers when they encounter this problem: a 30% blast radius that’s literally a size of a quarter against a meta-game of jumping, prancing enemy players. Forget about what they told you in Feet-Aiming School, because aiming for the feet with the semi-lovely Direct Hit is something impossible unless the timing is just right so you can hit them straight up, into the air. Instead, you’ll need to meet their jumps half-way: you need to aim for the chest or the head. Worst yet, being close range is risky too because you have to keep to the plan of aiming for that specific sweet spot, or they’ll just hop away the second the rocket hits the unscathed ground. Even worse, Scouts are the unholy enemy of the Direct Hit. Aiming this close against a class with such a tiny lil’ head is a complete nightmare. This is why the element of surprise can help you strike before they start jump evading. I can go on and on about how horrid the quarter-sized splash damage can put me off so much but I digress:
The more practice you get, the better DHer you become. You can sharpen your reaction times to an extent that you can become a freakin’ prowling ninja tiger with this weapon.
In conclusion, to anyone who wishes to master the art of the Direct Hit, this is my advice:
Over-extending enough to keep missing will only get you killed with it without any positive results.
A tip for DHing those Scouts: Wait for them to use their second jump. Once they jump the second time, they can’t do much to dodge anything, really – easy prey if they’re in the range they should be in: up close.
Thanks for publishing my post! 🙂
Direct Hit is greatly synergising with Gunboats to be an agressive divebombing player. And even better it synergises with Buff Banner. Since you can keep filling it at range easily with DH, you have high chances of actually using the banner some day. And then it gives you minicrits that:
1) Make you deal enough damage to 1-2 shot any class in the game bar the heavy
2) Remove fallof to deal enough damage at any range.
I killed so many medics with one shot that dealt above 150 damage because of that, that it got ridiculous.