“But, Grunt, why not Zoidberg the Targe?”. Because when your main weapon is what remains of a handgrenade that does 35 points of damage per hit, you need something that consistently gives you more damage so you are not defenseless until you get to a resupply cabinet. The Targe has resistances -that are pretty useless in Medieval – and crits, while the Screen has crits AND damages enemy when hit with the shield at any range; the Targe only hurts enemies at long range. This means that with the 85 points of damage of the shield and the 105 points from the critting already-exploded caber, you do a nice 190 damage – that is enough to kill Medics, Snipers, and other Demomen if they’re slightly hurt. Because we’re not using Swords, we don’t need heads and thus we don’t care if we kill the enemy with a shield connection or the caber, it’s all good.
The Ullapool Caber
Level 10 Stick Bomb
No random critical hits
High-yield Scottish face removal.
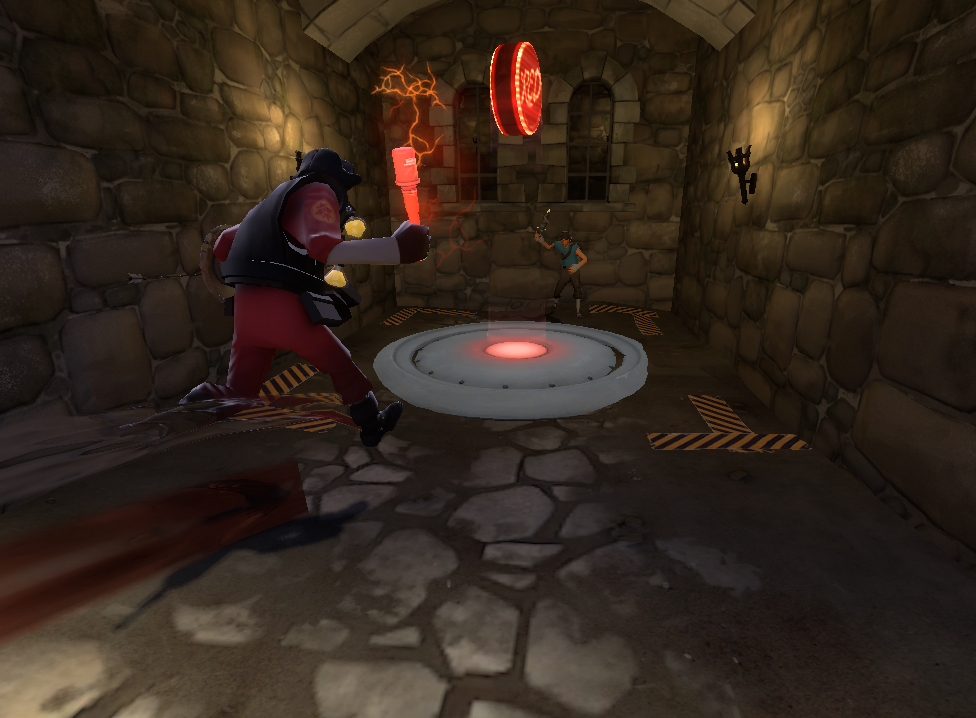
A sober person would throw it…
Here comes the caber! With its 144 points of explosive damage (450 with crits) you can kill anything. You can also kill the highest hp class in the game – the Overhealed Heavy – that you won’t ever meet in Medieval for obvious reasons. Because of its explosive properties, you can kill more than one person with a single hit, doing incredible amounts of damage!
Now, we have the map, we have the class, we have the loadout…what’s missing? The strategy of course!
Playing Caberdemo is not easy. Especially on Attack, this class doesn’t work very well, however on defense it can do amazing things.
Resource Management
A lot of what you’ll do as Caberknight is resource management: you have 2 weapons (shield and caber) that are also the ways you move around the map. If you are on defense, you need a caberjump or a shield charge to return into the castle. You have only a caber explosion (which is also your main source of damage) so you won’t do caberjumps often, unless they are baitjumps, so your prominent mean of mobility is the charge, which requires twelve (12) seconds to be used again.
Caber Jumps
Hit the terrain with a caber, and you’ll do a very high jump (you can easily go over castle’s walls). The “caber” jump itself gives you very small horizontal speed, so you can charge if you need more.
Bait Jumps
Before i talked about baitjumps. But what’s a baitjump? A baitjump is when you make an enemy come near a caberjump point (i.e. the castle’s wall) so you can hit him. An example is: you’re protecting B, there is only a lonely medic, you hit him when you are near the wall, you kill him and get propelled above the walls. So you can go to the resupply locker and get another caber.
Because people NEEDS to get near you to attack you, baitjumps are pretty easy to pull off.
Last Point Defence
This is easily the part where you, as Caberdemo, really get to shine. You can go out of spawn, charge, and get a critical hit with the caber. This easily means a triple kill, if the point is being capped by enemies. Even if you fail and don’t kill anyone, the enemies will be heavily injured, and this means that your teammates will have an easier time. You can just return to the resupply cabinet and repeat the procedure, too.
Getting into battle without fall damage
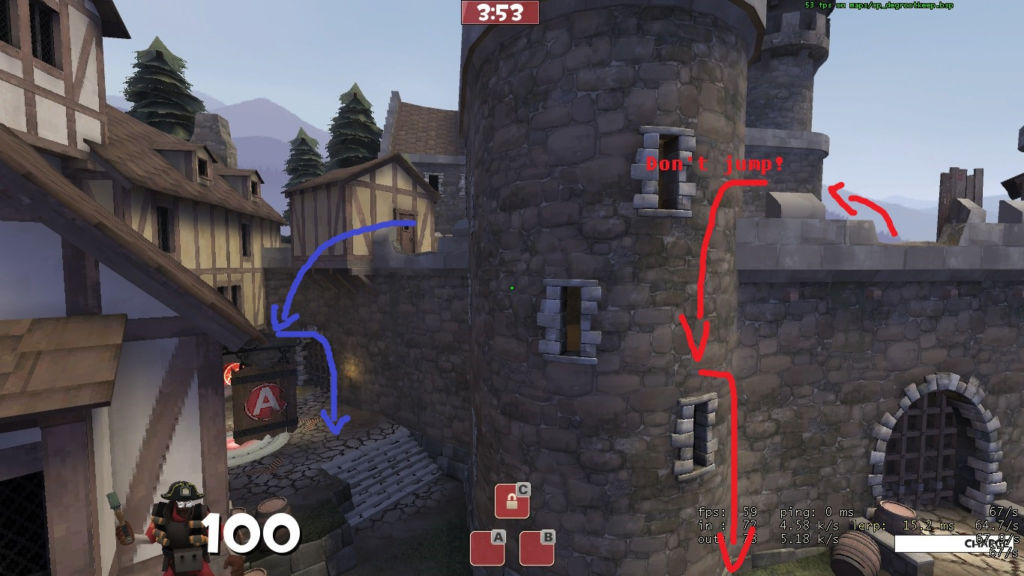
Now, when you play with explosives every little bit of health helps – especially on Degrootkeep. If you are on Defense, you’ll have to jump down the walls – and you’ll get fall damage from doing this. What do we do, then?
(Yes, I know, I got m4d pa1nt sk1llz) You can use one of these two ways to get down without taking any damage.
So, that’s all for today. But – like I said – for today: I’m planning to release an addendum to this article, with lots of caber jumps, charges, and other tips about playing Caberdemo. Want to see it? Just stay tuned to SPUFblog!


Caberknighting also works marvellously in normal gameplay. It’s still valid as a suicidal mid-range ambush/pick class, it’s main weaknesses being the Natascha or those damned Dead Ringer Spies. Or a crackshot airblaster Pyro.